Updating OpenCart
Updating OpenCart
OpenCart is periodically updated with new versions of itself. It is a good idea to update your store with each new version released to take advantage of bug fixes and new features. It may seem like a hassle to update the shop every time a new version comes out, but it is worth the effort in the long run. There are ways to avoid the pain of upgrades, such as using quality themes and modules that do not modify your OpenCart core, or using vQmod.
This guide will explain how to upgrade from the v1.4.x up to the latest version of OpenCart. Versions earlier than 1.4.x will not be included since they are no longer available.
Checking the requirements for the new version
To see if the a store with an older version can upgrade to the newest version, your web server needs to meet the basic technical requirements. To see the latest technical requirements for the latest version of OpenCart, 1.5.5.1, see System requirements.
Updating from 1.4.x to 1.5.x
If you want to move your shop to the latest version and are currently using a 1.4.x version, you need to download a script from the OpenCart forum: http://forum.opencart.com/viewtopic.php?f=2&t=50292.
Updating from 1.5.x to the latest version
Updating from a 1.5.x version to the newest version is a simpler process than updating from 1.4.x. To access the latest version of OpenCart, visit the Download page:
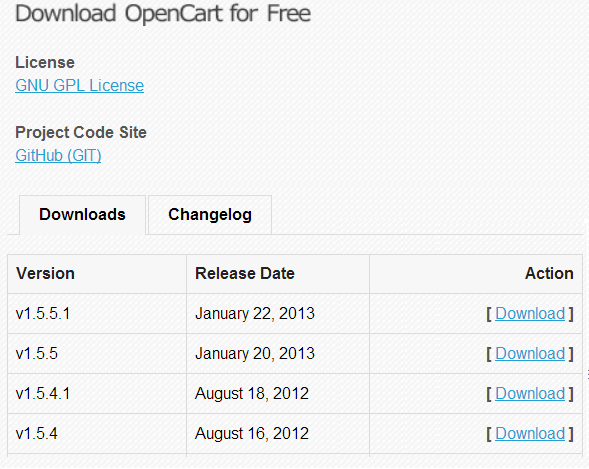
The latest version will always be at the top of the Downloads list. Click "Download" to save the zip version. Unzip the zip file to a location that can be easily located later.
The next step in updating is to upload the files from the latest version to the store's file directory via a FTP client. Transferring these files will overwrite the existing files, so it is a good idea to save the existing files from the store's root directory on the administrator's computer as a zip file. Also, if you haven't done so already, you should visit the Backup/Restore section to save a backup sql file containing the store's database information.
With the store's files backed up, the newest version can be uploaded with the FTP client. See Installation to learn how to connect to the store's directory using Filezilla. In the Local site side, locate the OpenCart version's upload folder and open it to view its contents. There are two files that need to be excluded from the upload to the store's root directory: "upload/config.php", and the "upload/admin/config.php".
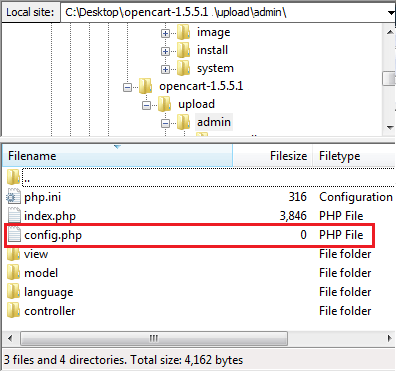
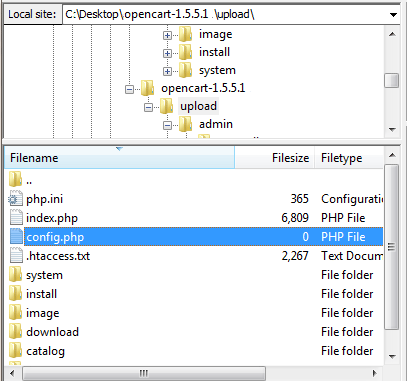
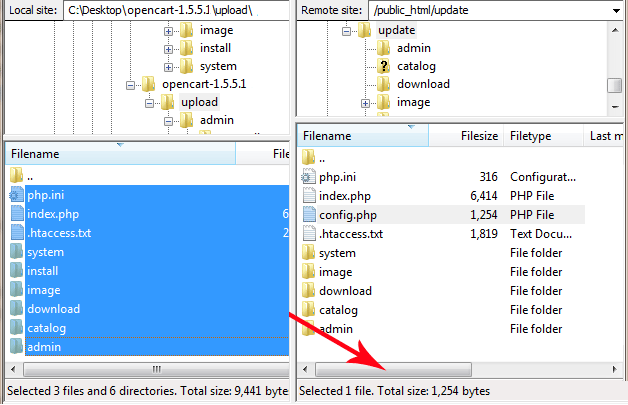
The easiest way to upload the files of the latest version, without these two config.php files, is to delete them from the local site side before uploading. That way you can select everything within the upload folder without worrying if the config.php files were uploaded accidentally. In the screen shot below, the store is located at "public_html/update", so all the files from "upload" are selected and dragged to the scroll bar. Every file within "upload" is automatically loaded to its proper path this way. These files should overwrite the existing files, so select "Overwrite" when asked by the FTP client.
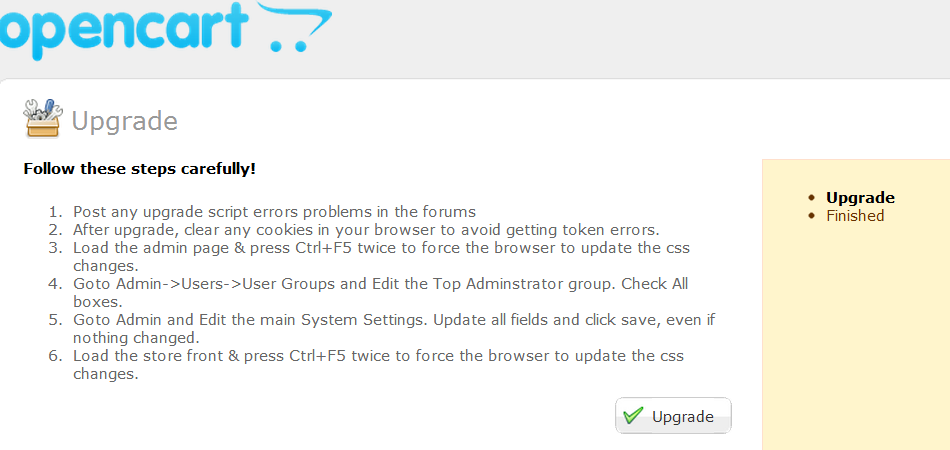
After uploading the files of the new version to the FTP client, the administrator must visit the install page. The install page is located at the store location followed by "/install" like so: www."mystore".com/install. The following screenshot displays the upgrade instructions after it finishes updating when viewing the install page.
After letting OpenCart upgrade complete, the following success page will be displayed. The install directory can be deleted now.
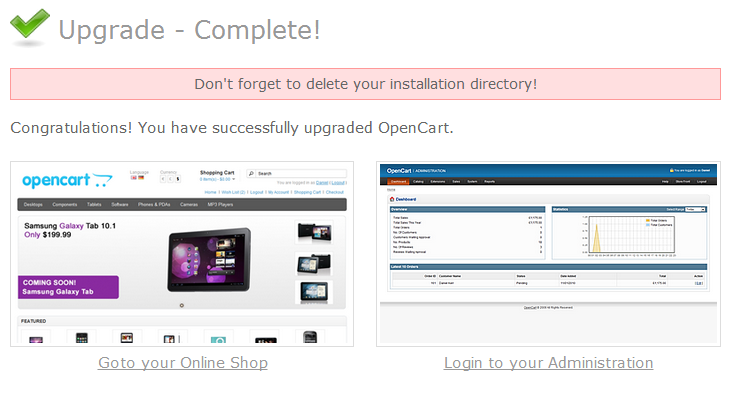
Though the upgrade has completed, there are still a few things to do to get the administration side of your store in order:
- Remove cookies from your browser.
- Press CTRL+F5 three times in both the admin side and the store front.
- Visit the store settings and fill in any missing information. See Settings to learn how to edit the store settings.
- Visit the User Groups and give the Top Administrator all the privileges needed to run the administration. See Users for more information on how to edit User Groups.
Once the administration is in order, you can resume the routine of managing your store; except now you are equipped with all the improved tools and features brought by the update.